To ensure high-quality dryer operation and efficiency, there are many methods that can be used. In other chapters, you will find information on many of these techniques such as how to insert moisture probes and use them for moisture content measurement. This is a discussion that will show you how to use a dryer from a wood perspective.
Log Handling and Storage
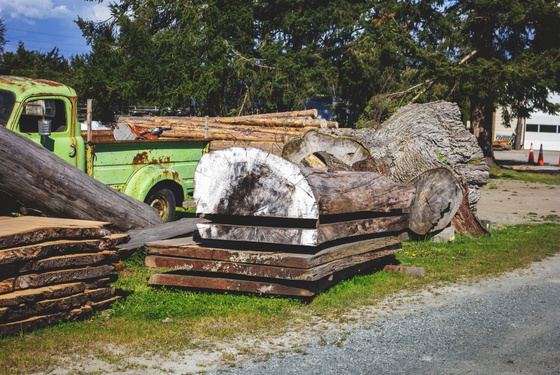
If drying degradation is to be prevented, logs must be properly handled. End coating is a must for logs. End checks can form in logs if they are not coated. These checks can lead to serious end splitting damage when the lumber is dried.
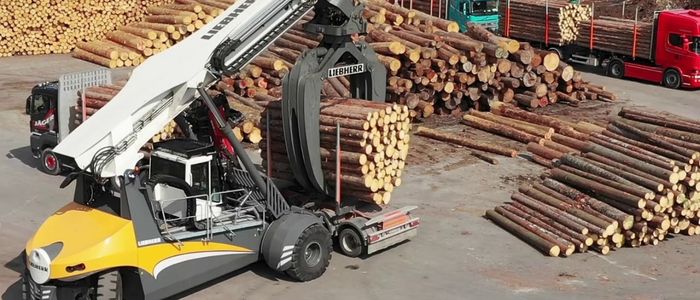
The checks do not improve with lumber drying; they only get worse. Virginia Tech’s red oak studies showed that end coating reduced the number of ends splits in 5/4 lumber by reducing them to zero in 75%. The lumber was predried, and then it was kiln-dried in a conventional manner.
Logs stored in ponds may also become degraded, with bacterial infections. This makes the lumber more susceptible to checking and honeycomb. Even if the logs are not soaked with water, they can still develop chemical stains that will cause staining during drying.
Stacking Lumber
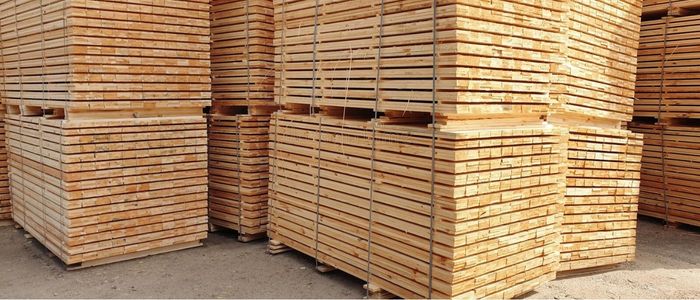
If you want to minimize the chance of staining, lumber must be stored immediately after drying. Although fungicides can prevent some damage from occurring, chemical stains may still occur. Stickers should be aligned properly so that they are in line with the stickers immediately above and below. Bolsters should be aligned and placed under each sticker. Foundations should be flat.
Preparing and selecting samples
Accurately knowing the lumber’s MC is key to drying successfully. This procedure was developed over decades of experience. There are no shortcuts.
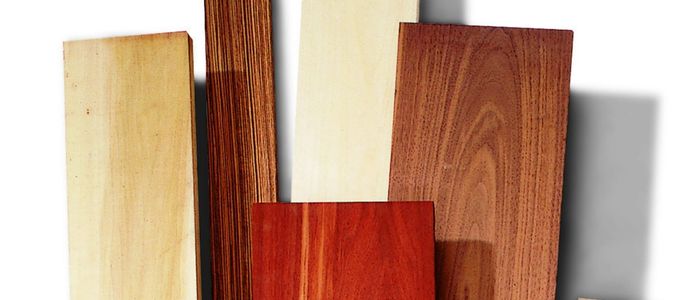
It is impossible to weigh each board during drying to determine the moisture content. To estimate the moisture content of lumber in the kiln, we use the sample-board method. This method employs short, carefully selected sample boards made from larger lumber pieces. The moisture content of these sample boards is calculated and weighed regularly. The kiln with the highest moisture content has the highest chance of developing degraded lumber. Therefore, the majority of the sample boards should be the wettest lumber. This means that the lumber that was cut the most recently is the one that is the thickest and widest, as well as the one that contains the heartwood. A sample should be taken from at least 35 of the driest pieces (the opposite for the wettest).
These are the exact steps to make sample boards
- Choose the lumber you want to use.
- Make a 30-inch board for the sample and cut two 1-inch moisture sections. Avoid areas close to knots or areas that are closer than 12 inches from the ends.
- You should immediately weigh the sections. A precision of about 0.01 grams is required for 100-gram sections. It is crucial that the sections are not lost after being cut and before being weighed. Use a marker pen to record the weight.
- You should weigh the sample board accurately (about 0.1 pounds is required) and then record the weight.
- Finish coat the sample board. A double coating is recommended.
- Place the sample board in the lumber stack where it will dry at the exact same time as the rest of your lumber.
- You can either bake the sections at 215-217 degrees F or in a microwave oven.
- Once the sections have dried, usually between 18 and 36 hours depending on the oven, reweigh them and get the oven-dry weight.
- Each section should be calculated separately. %MC=wet weight – dry weight-1×100
- Next, average the MCs of both sections to get the average MC of the sample board at cut Average %MC=MC1+MC2/2
- Calculate the oven-dry mass of the sample board by using the average MC in Step 10 and the weight from Step 5. Calc.O-D Weight=Wet Weight100+(%MC)x100
- So that you can easily find this number, write the O-D weight of the sample board (when it’s weighed again).
- Recalibrate the sample board periodically to determine if it has a current moisture content. Current %MC=Current weightCalc.O.D Weight-1×100
- Sometimes, it is necessary for sample boards to be cut when lumber is at 20% MC. This is to get more precise MC values and to make a mid-course correction.
Verification of the Quality of Incoming Lumber
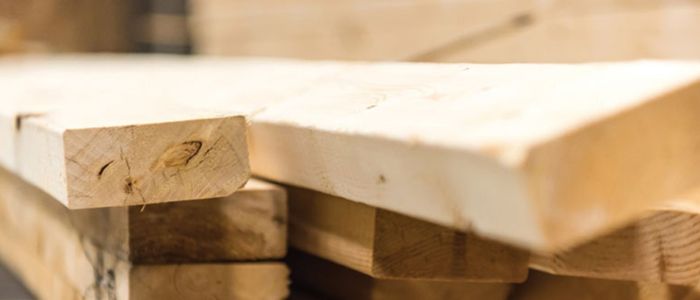
We double-check all lumber purchases, including footage and grade, but rarely do we check the quality. The lumber is not subject to internal and surface checks. Figure 3 shows the process for evaluating quality. Figure 3 shows how to evaluate quality. The lumber arrived with the checks already in place. A different schedule should be used if the lumber has been checked.
How to load a dryer
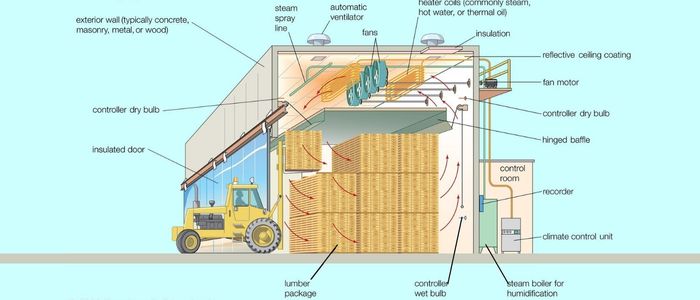
To ensure adequate plenum space, every dryer uses a proper loading method. Follow the manufacturer’s instructions. You can also use common sense to ensure that dryers have adequate airflow.
Start a Dryer
We discuss the temperature and EMC to be used when the dryer is turned on. It is also important to turn on the fans first, before closing the doors, if the lumber is frozen or cold. This will prevent implosion damage. You must also follow the manufacturer’s instructions.
Final Quality Control
When lumber leaves the kiln it should be tested for average MC and shell and core MC. Stress (longitudinal, transverse), surface, internal, and end checks. It is better to find out if there are problems before the lumber is shipped. These tests can also be used to evaluate drying methods and monitor quality. These tests will also assure the personnel involved in kiln drying that their methods are correct and that they are not responsible for any subsequent problems. It is often a cheap policy of insurance.
Safety
Dryers can pose a danger so safety precautions should be taken. It is important that all electrical equipment, including dryer buildings, be grounded. Every electrical circuit should be able to be locked out. Operators should ensure that enough oxygen is available before entering a kiln. A fast-drying material, which is dried at temperatures higher than 160°F, can cause a shortage of oxygen in the kiln. The heat can make kiln conditions unsafe if there are wet bulbs at 110 degrees F. Safety brackets must be installed on large kiln doors to prevent them from falling out of their carriers. This is a U.S. federal regulation. Man doors must have inside releases. The lumber can shift in the dryer and may fall when an operator enters. Wear a hard hat. To ensure that no lumber is blocking the door, always look up at the ceiling. The equipment manufacturer should address other safety issues.
Dry Lumber Storage
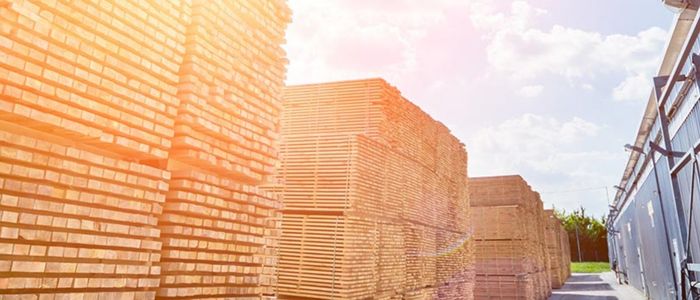
Poor storage can lead to poor lumber, regardless of how dry the lumber was. Unwanted MC changes and insect infestations are two of the most serious storage hazards. This can lead to poor lumber and costly consequences for the lumber user. Storage conditions should be dry and free from insects.
Proper lumber storage requires a storage environment that is less than 2 percent of the lumber’s MMC. Heating the air inside the storage building can achieve this condition, which will lower the RH to the desired level. The building’s RH will be below 40% if it is heated to 22°F 39 at night, above the temperature outside.
Conclusion
Operation in drying lumber needs a lot of work, there are a lot of things that you need to consider or hire someone who knows the operation very well. If you are willing to learn the operation we are happy to assist you and teach you the process. Shuowei is 32 years in business and we have our professional team to help our clients with what they need. Contact us today and we can discuss with you all the details that you need to know.

