Lumber is typically dried to a specific moisture content before being used or manufactured. Wood’s moisture content is often expressed in the form of its moisture content. This can be measured directly or calculated.

The wood’s moisture content is the sum of the dry weight and the water content. Although lumber can be air-dried, humidity in most places prevents it from reaching the required moisture content for interior use. A dry kiln must dry lumber to the required final moisture content. It can do this fairly quickly. This publication details the construction and operation of a solar-heated lumber drying kiln. It is easy to use and inexpensive to build.
They are easy to use and relatively affordable to build. It can be challenging to dry lumber. That is why it is essential to have extensive knowledge and experience. Having extensive knowledge, experience, or control over the Virginia Tech solar oven is unnecessary. The collector is large enough to keep the Kiln’s temperature from rising, which can cause the wood to crack and check. It is easy to build and uses a passive solar collector, four insulation walls, and an insulated floor. The roof is made from clear, greenhouse-rated corrugated polycarbonate.
Design Fundamentals
The solar Kiln can hold up to 1,000 board feet of 1-inch lumber per charge (or loading) and can dry an order in about one month of mildly sunny weather in the mid-latitudes. The clear glazing heats up and absorbs solar energy. Solar energy heats the air in a collector space and then circulates through the lumber with fans. The heated air absorbs moisture as it spreads. The water evaporated by the heated air increases its relative humidity. If humidity is too high in the chamber, it is vented out through the vents at the rear of the Kiln.
Roof Design
This design is very similar in appearance to a solar greenhouse. The passive solar collector is responsible for drying the heat generated by the sun’s rays through the roof. Many factors affect the Heat that can be extracted from sunlight.
The roof slope, which is 45 degrees to the south in this example, is one of these factors. The optimal roof angle will depend on where you live and be equal to your latitude. The problem with choosing the best roof angle for a solar collection is that it changes with the seasons. This is because the angle of sunlight changes. You can increase the roof angle by 10 degrees if you intend to use your Kiln in winter. Blacksburg, Virginia, has 37 degrees latitude. Therefore, 47 degrees is the ideal angle for winter operation. To make construction simpler, we settled on a 45-degree tip.
Basic Box

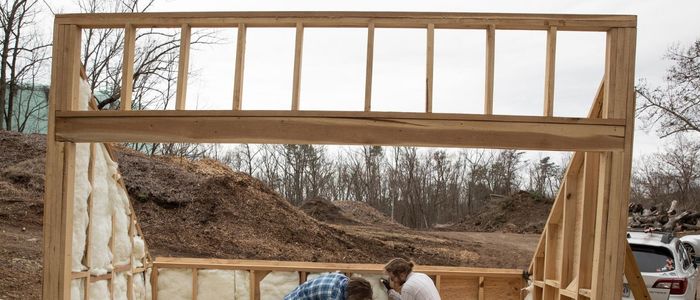
Design The Kiln was designed using standard framing methods. First, construct the floor using 2 x 6s with 16 inches in the middle. Preservative treatment should be applied to the lumber for the floor to prevent rot. It will be near or in direct contact with the ground. Install paper-backed fiberglass batt insulation (Figure 2) between the framing members.
Cover the top of the batt insulation using a sheet of 0.6mm plastic to prevent condensation. Place exterior-grade 3/8 inch plywood on the floor. Next, you will build the walls of your Kiln using 2×4 materials, batt insulation, and exterior-grade 3/8-inch plywood for the exterior and interior.
Two coats of the black rubber-based concrete sealing compound were applied to the plywood in the Kiln. This sealer acts as both a vapor barrier and a solar collector once it dries. You could also paint the aluminum with two coats to create a vapor barrier and add a third coat to absorb solar energy.
Operation of a solar dryer
Preparing the Lumber

Green lumber should be coated immediately with a rubber-based basement sealer to prevent splits and end checks. After the lumber dries, end coatings are less effective. To allow air circulation, the lumber should be placed in the Kiln at a 1-foot clearance (between the south and north walls of the stack).
The lumber should then be laid in neat layers separated by spacers or stickers that run perpendicularly to its length. Each layer of lumber must have a uniform thickness.
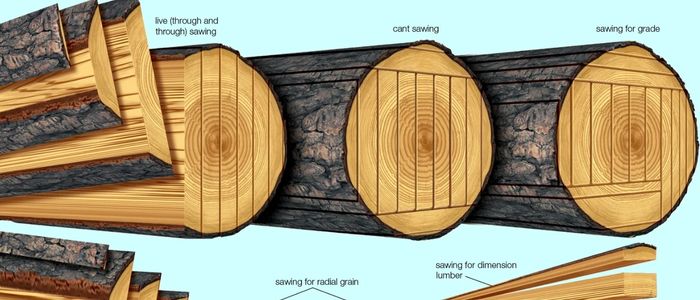
To achieve uniform thickness and minimize warping, it is a good idea to plan one or both sides of the sawn lumber before drying. If you don’t want the lumber to stain, it should be quickly stacked with stickers after cutting.
Monitor the Process
It is essential to monitor the moisture content (MC) during drying to ensure that the load stays dry, which can lead to quality loss. Also, it is vital to determine when the shipment has reached the desired moisture level. Sample boards can be used to determine the daily moisture loss rate and measure the moisture content of the load each day.
The species’ safe drying rate should be compared to the loss. You may need to close off a portion of the collector, turn off the fans and open the vents during hotter hours if the drying rate is too high. Although the solar Kiln in this publication can dry red oak, it is not recommended to check the process.
Modifications to the design
For every ten board feet of 1-inch lumber, the dryer should have one square foot of collector. This ratio is good for 1-inch oak, but more is needed for 2-inch oak or thicker oak. It also might need more heat for pine and other fast-drying woods. And you can dry pine and other fast-drying woods by reducing the lumber content in the Kiln. This will increase the collector-to–wood volume ratio or collector size.
You can reduce the collector by covering a portion of it with opaque material. A transparent south wall is a common modification in tropical countries. This is an essential consideration in the design. It makes a difference between the collector’s area and the wall area. The more solar energy collected, the larger the collector. The heat loss from cold weather is more significant. The heat loss through the transparent South wall negates any significant energy gains that a transparent wall would provide for most North American latitudes. The solar Kiln has no transparent south wall.
How to cut and use sample boards
1. Choose a few boards from the lumber package with the slowest drying material. These boards include the thickest, most extensive, and most moisture content. They also contain the most heartwood and are quartersawn.
2. A 24- to 30-inch piece of paper should be cut, free from knots, and no more than 12 inches from one end of the board. As shown, cut two 1-inch sections of the sample board. Be sure to number both the sections and the sample board.
3. Instantly weigh the 1-inch sections (with a precision of approximately 1 gram) and then record the weight. The pieces must be measured quickly after being cut.
4. Apply two coats of aluminum paint or a rubber-based sealant to the end coat. Then weigh the sample board and note the weight (accuracy of 0.01 pounds).
5. The sample board should be placed in the lumber stack. It will dry the same way as the rest of your lumber in the dryer.
6. Place 1-inch sections in an oven at 215o – 218oF (102o -103oC). Dry the pieces – typically 18 to 36 hours, depending on the stove.
7. Calculate the moisture content of each section. Then, average the MC from two areas to get the MC for the sample board.
8. Use the average MC and step 4 to estimate the oven-dry weight of the sample board. This record can be used to calculate future moisture content.
9. Reweigh the sample board to determine its moisture content and then calculate.
Conclusion
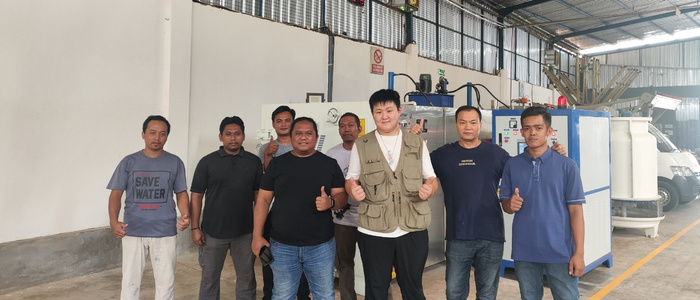
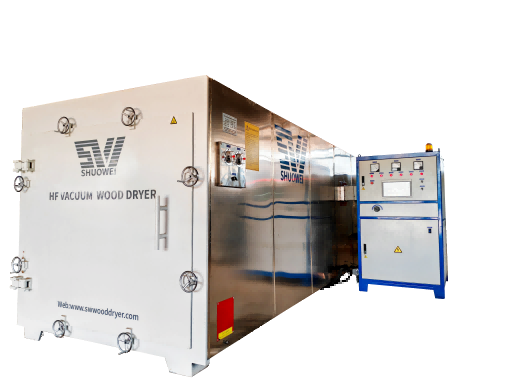
You can share your ideas if you’re trying to build a solar kiln. If you want more than solar kiln drying, Hebei Showei might be a good choice. We provide high-frequency vacuum drying equipment to assist all wood drying businesses. Just contact us so that we can assist you.