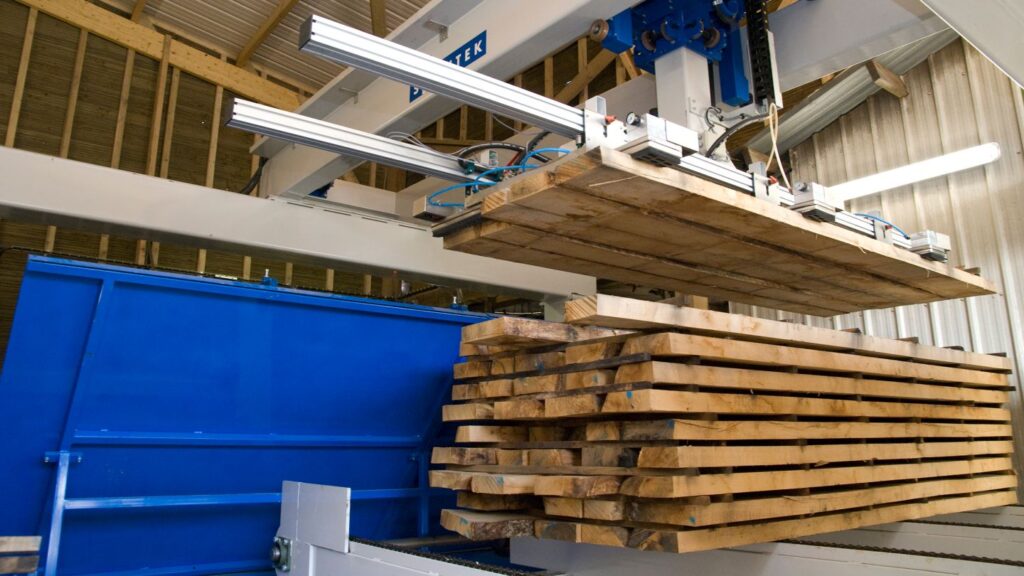
Have you ever heard of kiln-drying lumber at home? It was a woodworking technique devised to make more lumber available during times of demand at sawmills. Many people don’t realize that there are still places in the United States where sawmills don’t exist anymore, and only a few old-timers know how to process logs into usable lumber.
If you’re looking to build a deck or a pergola in your yard and need to pick up some lumber to do it, it’s important to know how long to kiln dry lumber, as well as the right method and technique. It is possible to kiln dry lumber at home, but there are some important things to keep in mind.
This article will help you understand how a DIY kiln works and why it benefits your woodworking projects.

How To Kiln Dry Lumber At Home
Kiln-drying lumber is a technique that involves using specialized equipment to dry wood at home. This process can take anywhere from a few days to several weeks, depending on the type of lumber and how much moisture needs to be removed.
The key to kiln-drying lumber effectively is having the right equipment. A DIY kiln typically consists of an insulated chamber, a rack for holding the wood, and a heating element or fans to circulate warm air. If you are looking to build your own DIY kiln, there are some important steps that you should keep in mind.
Steps
- First, choose a well-insulated space where you can safely operate equipment like heaters and fans. You will also need to have plenty of ventilation, so make sure that your kiln is set up in an area with good air circulation.
- Next, you will need to buy or build a rack system for holding the lumber. Be sure to design your rack so that it provides adequate airflow around each piece of wood, while still maximizing the space available in your kiln.
- Once you have your equipment and storage set up, it is time to actually start drying the wood. You will need to monitor the temperature of your kiln closely, adjusting the heat as needed to keep moisture levels low and prevent warping or other damage.
- Finally, once you’ve successfully dried your lumber, you will need to store it properly in order to maintain its quality and keep it from becoming re-wetted. If you are serious about woodworking and want to kiln dry lumber at home, there are plenty of resources available to help guide you through the process.
Whether you opt for a DIY approach or choose to purchase a commercial kiln, kiln-drying lumber can be a great way to get high-quality wood for your next woodworking project. So why not start learning more about this technique today?
How to effectively choose materials for your Kiln Dry Lumber project?
When choosing materials for a Kiln Dry Lumber project, there are several factors that you should take into consideration. These include the size and complexity of the project, your budget and time constraints, as well as the type and quality of wood that you need for your specific application.
One key consideration when choosing materials for a Kiln Dry Lumber project is the availability of wood in your area. If you live in an area that is not close to a sawmill or lumberyard, it may be more difficult to find high-quality wood for your project. In addition, it is important to consider the overall cost of your materials and how they will impact your budget.
If you are working on a tight budget, choosing lower-quality wood or looking for alternative materials may be a good option. To make the best choice when selecting materials for your Kiln Dry Lumber project, it is important to assess all of these factors and choose the materials that are most suitable for your needs. By doing so, you can ensure that you get quality results from your project while also keeping your costs and time requirements in check.

Can you make your own kiln for drying wood?
It is possible to make your own kiln for drying wood at home. There are several types of DIY kilns that you can build, depending on the materials and equipment that you have available. Some common options include small, temperature-controlled ovens or racks with fans or heaters to circulate warm air around the lumber.
Before you start building your kiln, it is important to do plenty of research and planning. This will help ensure that you are able to pick the right materials and design for your specific needs. Additionally, you should make sure that your kiln is set up in a well-ventilated space with adequate airflow around each piece of wood. With careful planning and attention to detail, you can create a home kiln perfect for drying your lumber.

Frequently Asked Questions
How can I ensure that the wood dries evenly in my kiln?
One key factor to consider when drying your lumber is ensuring an even distribution of heat throughout the kiln. This can be accomplished through careful control of your temperature settings, as well as regular monitoring and adjustments. In addition, you may want to use fans or other methods of circulation within the kiln to promote even drying. Another important factor is choosing wood that has similar moisture levels, so that you can achieve consistent results across all pieces of lumber. With careful planning and attention to detail, you should be able to successfully dry your wood in a way that promotes even and consistent drying throughout.
How do I know if my lumber is dry enough?
One common question when drying lumber in a kiln is how to tell when it has reached the correct level of moisture. Depending on your desired final results, you may want to measure the moisture content of your wood using specialized tools and equipment. Alternatively, you can look for physical signs such as cracking, excessive warping, or signs of mold or decay.
How do I maintain my kiln to ensure that my lumber dries evenly and consistently?
To maintain your kiln for optimal drying performance, it is important to monitor the temperature and humidity levels within the space regularly. You should also make sure that there is adequate airflow around each piece of lumber to promote even drying. Additionally, you may want to use moisture meters or other tools to monitor the moisture content of your wood regularly and make any necessary adjustments. With these strategies in place, you can ensure that your kiln is working at optimal efficiency for consistent and effective drying on all pieces of lumber.
How can I determine the optimal settings for my kiln based on my lumber type and project requirements?
There are a number of different factors that can impact the optimal settings for your kiln. These include the moisture content of the lumber, the desired final results, and the size and design of your kiln. To get started, you should do some research and experimentation to identify what works best for your specific needs.
For example, you may want to consider using different temperature and humidity settings for different types of wood or making adjustments based on the size and shape of each piece. With careful planning and attention to detail, you can create optimal kiln settings that deliver consistent results for all of your projects.
Conclusion
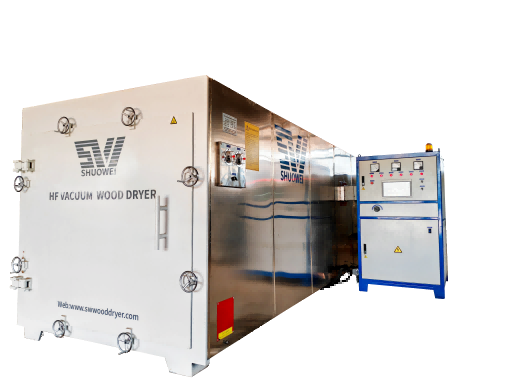
Overall, building your own home kiln is a great way to dry lumber for your woodworking projects. By doing plenty of research and planning ahead, you can ensure that you choose the right materials and designs for your needs. Additionally, by carefully monitoring and maintaining your kiln, you can consistently dry across all pieces of lumber. With these tips in mind, you can create a home kiln that is perfect for drying your lumber and meeting all of your woodworking needs. Check out our website HeBei ShuoWei for Kiln-drying ideas!


