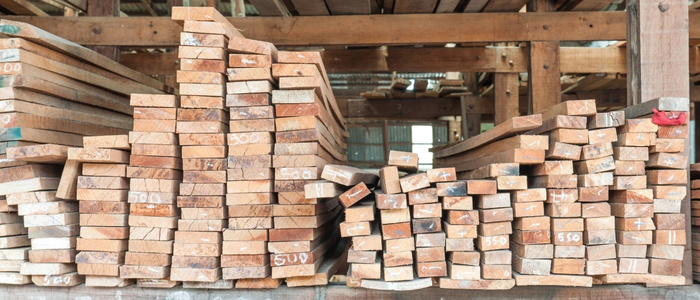
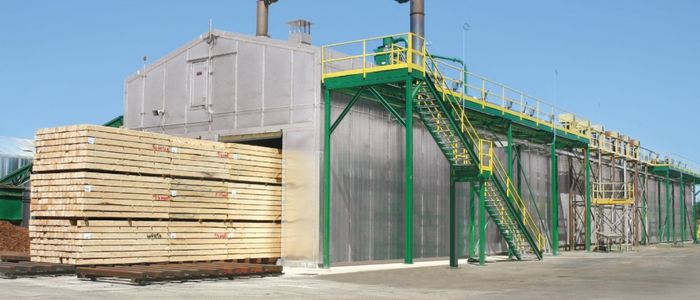
Kiln drying is a process of drying lumber. Lumber is placed in the kiln, and it brings the moisture content of the lumber to an acceptable level. When you want to use lumber for projects such as a deck or pergola, it is important that you have an acceptable level of moisture content. Using wet lumber can cause your structures to rot and fall apart.
Kiln drying is a cost-efficient and green way to get lumber to the point where it will no longer retain moisture. Although some homeowners prefer the darker, more rustic look of kiln-dried wood, others choose to use it for building their structures, decks, and wood floors. The resulting lumber is easier to work with and less expensive, making kiln drying an option that more and more homeowners are choosing.
There are several ways of drying lumber, and in this article, we will cover some of the most common methods.
How to Kiln Dry Lumber?
Kiln-dried lumber is one of the best investments you can make when building your own outdoor structures. Whether you are building a playhouse for your kids or a home office, timber will last far longer if you kiln-dry it before use.
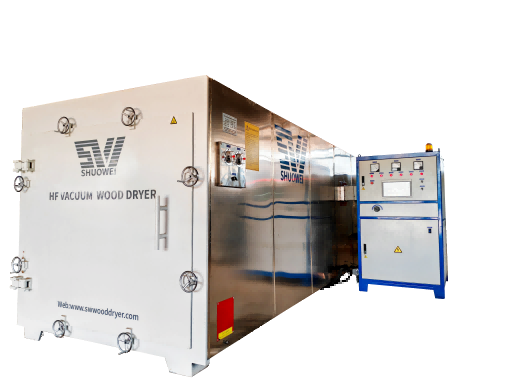
There’s no need to spend extra money on pressure-treated wood or to invest in an entirely new building if the structure gets damp somewhere. To kiln-dry lumber, you will need to invest in a kiln. Several types of kilns are available, with some costing more than others.
The cheapest option is an electric infrared kiln, which works by heating the lumber evenly and allowing it to dry out naturally over time. Other options include gas and propane-powered kilns, which can cost several thousand dollars but are much more efficient at drying out the wood. Once you have your kiln, keeping the temperature and humidity inside the kiln consistent during the drying process is important.
Monitor the lumber closely during drying, checking it every few hours for signs of moisture. Another important factor is airflow. Kiln-drying lumber requires a constant supply of fresh air, so make sure that there are plenty of vents and windows in your kiln to allow for proper airflow.
If you’re new to kiln-drying lumber, it’s a good idea to consult with an expert or hire a professional contractor who can help guide you through the process. With the right advice and equipment, though, kiln-drying your own lumber is easy and cost-effective. The end result will be high-quality wood that can be used to build sturdy outdoor structures that will last for years.
How do you dry wood in a kiln?
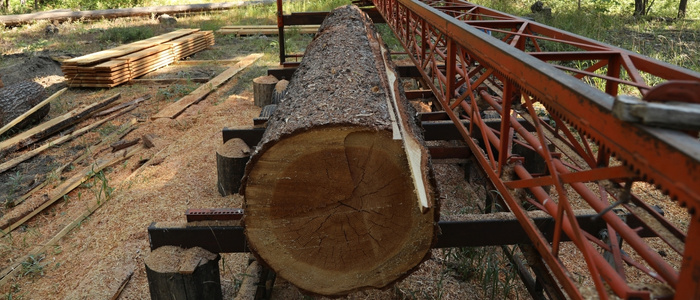
There are several steps involved in drying wood in a kiln. First, you will need to source high-quality lumber from a reputable supplier or mill. You can then place the lumber into the kiln and set the temperature and humidity levels according to your desired specifications.
The next step is to closely monitor the lumber during the drying process, checking it every few hours to ensure that it is not too wet or too dry. It can take several days or even weeks for the wood to reach your desired moisture level, so be patient and allow plenty of time for the drying process to complete.
Once the lumber has dried out completely, you will need to let it rest for a period of time to allow the wood fibers to contract and stabilize. At this point, you can begin using the lumber for your projects, knowing that it is strong and durable enough to withstand exposure to the elements.
What happens if you don’t kiln dry wood?
If this step is skipped, the ends will tend to shrink more quickly than the rest of the wood, putting the piece under extreme stress that can only be relieved by end grain checks, a typical drying problem.
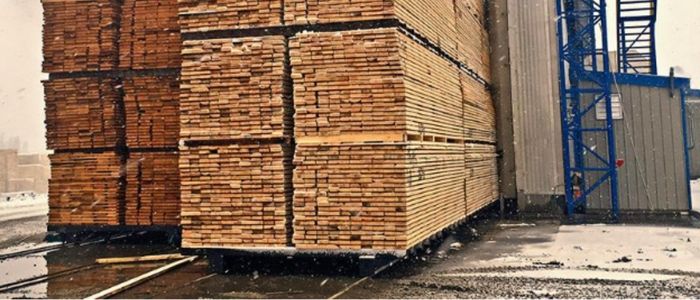
Kiln-dried wood is typically stronger and less prone to warping, cracking, and other structural issues than non-kiln-dried wood. This makes it a valuable resource for many different kinds of building projects, from decks and outdoor structures to flooring and furniture.
However, if you do not kiln-dry your wood, you run the risk of encountering various structural problems down the road. The wood may warp, crack, or even rot over time due to prolonged exposure to moisture. As a result, it is important to make sure that every piece of wood in your project has been properly kiln-dried before use.
Frequently Asked Questions
Can you kiln dry your own wood?
Home kiln drying can be an excellent technique to harvest local resources sustainably and dry them quickly enough to use for furniture construction. Too-wet wood may continue to dry and split if it is used to make furniture, perhaps destroying the item.
Although kiln drying can be done with a minimal setup, it is usually best to have an expert help you decide which tools and settings will work best for your specific needs. Once you have the right equipment and know-how, however, kiln drying your own wood is relatively straightforward and can save you a significant amount of money in the long run.

Is kiln-dried lumber worth it?
Kiln-dried wood is quite economical. In a kiln, wood that may take weeks to dry out on its own will dry out in less than a day. Because of the streamlined procedure, wood finishing requires less effort. The outcome is wood that is both better in quality and more affordable than wood that has been air-dried.
If you are interested in building outdoor structures like decks and patio furniture, kiln-dried lumber can be an excellent choice. Not only is the material more durable and less prone to cracking or warping over time, but it also tends to cost less than non-kiln-dried wood. So if you want high-quality lumber at an affordable price, kiln-dried wood is definitely worth considering.
At what temperature do you kiln dry wood?
Depending on the drying stage, the kiln’s interior temperature can range from 120 to 190 degrees Fahrenheit. Although there are kilns with temperatures as high as 240 degrees F, they are typically only used for low-value hardwoods and softwoods that dry quickly.
In general, the drying stage that requires the lowest temperature is kiln birthing, which falls between 120 degrees F and 140 degrees F. The next step is greening, in which the temperature range moves from 140 to 160 degrees Fahrenheit.
After this comes conditioning, with a temperature range of 160 to 180 degrees F; air-drying is conducted at 180 to 190 degrees F. Finally, the last stage, which is known as curing, uses a temperature range of 190 to 240 degrees Fahrenheit. Depending on the type of wood and project you are working on, it may be necessary to adjust these temperatures to achieve optimal results.
Can kiln-dried wood have termites?
Kiln-dried wood is free of insects and parasites. Bugs and parasites are removed during the kiln drying process. This prevents you from bringing pests like termites and ants into your house. Both of these pests can live inside of naturally seasoned wood.
How much does it cost to have lumber kiln-dried?
Each cycle of vacuum kiln drying costs $1.00 per board foot. The vacuum kiln typically has drying cycles that last 7–10 days. Kiln drying with dehumidification costs $1.50 per board foot and takes 6 to 8 weeks.
Is it OK to burn kiln-dried wood?
You are still burning a perfectly natural product when you use kiln-dried logs; they simply have less moisture, which results in a more cleaner, hotter burn. Kiln drying is absolutely safe because it also kills insects as it goes along. The advantages of kiln-dried logs are their quick readiness for burning.

Conclusion
Overall, drying wood in a kiln is a relatively simple process that requires some basic equipment and knowledge of how wood behaves during the drying and stabilization phases. With the right guidance, you can successfully dry and stabilize your lumber in a kiln, creating high-quality wood perfect for building outdoor structures and decking. Check out more kiln drying contents on HeBei ShuoWei’s website and we are ready to help you with your needs!