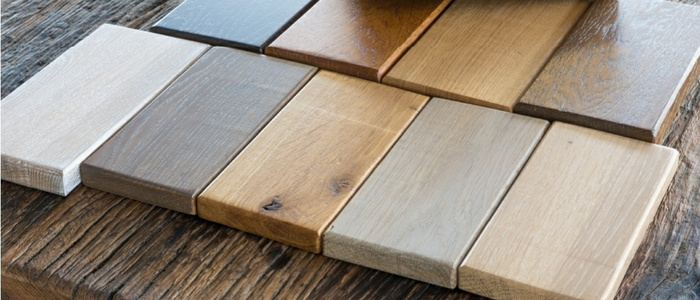
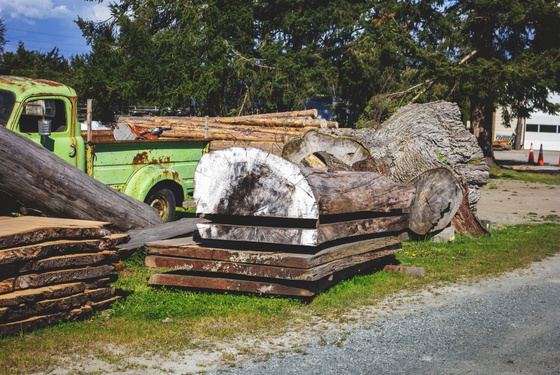
Milling and flattening live-edge slabs is an essential skill for woodworkers looking to create custom furniture or unique pieces. In this guide, we’ll walk you through the entire process—from cutting a log into slabs to milling and drying your own lumber using the most efficient methods.
To mill and dry your own lumber: First, cut the log into slabs using a portable sawmill or chainsaw. Then, dry the slabs either through air drying or faster kiln drying methods. Finally, flatten the slabs using a router sled or planer. This method ensures your slabs are flat, dry, and ready for use.
We’ll dive deeper into each step, including how to mill and dry your own lumber for the best results with minimal risk of warping or cracking.
How to Mill Live Edge Slabs: The First Step
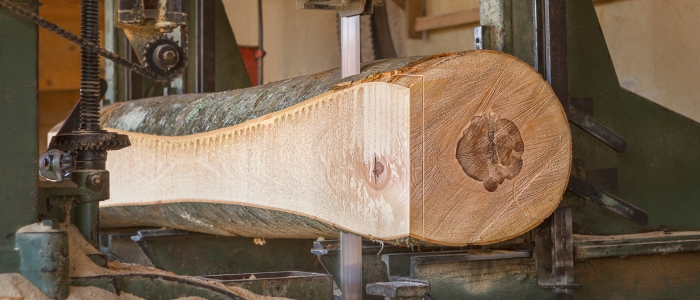
Milling live edge slabs begins with selecting the right log and preparing it for cutting. If you’re wondering how to mill and dry your own lumber, here’s what you need to do:
- Choosing the Log: Select logs that are free of defects like cracks, knots, and rot. The size of the log will determine how much wood you can extract.
- Setting Up Your Equipment: Using a chainsaw mill or a portable sawmill is ideal for cutting slabs while preserving the natural edges.
- The Right Cut: The most common types of cuts for live edge slabs are plain sawn and quarter sawn. Each offers different grain patterns and strength properties, so choose based on your desired look.
Pro Tip: When cutting slabs, always cut slightly thicker than the final desired thickness to allow for drying shrinkage.
Drying Your Slabs: Air Drying vs. Kiln Drying

Once your slabs are milled, drying is the next crucial step in milling and drying your own lumber. This prevents warping and cracking and ensures the slabs are ready for use.
Air Drying
- Stack and Sticker: Place thin spacers (called “stickers”) between the slabs to allow air to flow freely around them.
- Ideal Location: Store the stacked slabs in a shaded, ventilated area. This method can take 1-2 years depending on the slab thickness, and it works best in dry climates.
Kiln Drying
- Why Kiln Drying Works Faster: Conventional kilns rely on heat to speed up the drying process but can sometimes result in uneven drying.
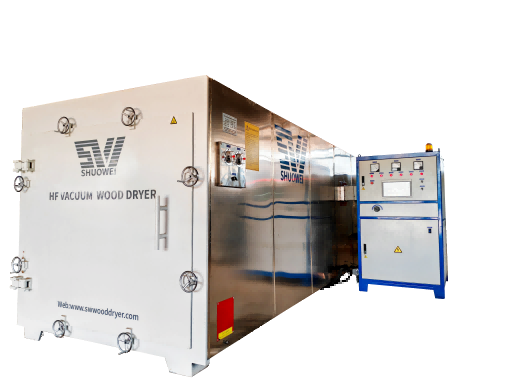
- High-Frequency Vacuum Drying: This modern method uses high-frequency electromagnetic waves to dry the wood evenly and much faster—usually within weeks. HF wood dryer also reduces the risk of cracking or warping, making it the preferred choice for thick, live edge slabs.
Pro Tip: High-frequency vacuum drying can significantly reduce the time needed to dry slabs without sacrificing quality, making it ideal for those with limited time or space.
Flattening Your Live Edge Slabs
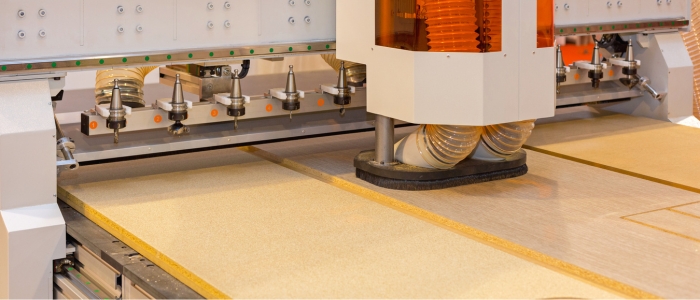
Flattening live edge slabs can be challenging due to their natural curves and irregularities. Here’s how to achieve a flat surface:
- Router Sled: A router sled is one of the most effective tools for flattening large slabs. It uses a flat surface and adjustable rails to guide the router across the slab evenly.
- Mark the High Points: Identify the highest points on your slab using a straight edge or level. Flatten those first to ensure even progress.
- Multiple Passes: Work slowly and carefully, removing small layers of wood with each pass. This prevents stress on the wood and ensures a smooth finish.
Pro Tip: Start with coarse bits and gradually use finer bits for a smoother finish.
The Advantages of High-Frequency Vacuum Drying for Your Slabs
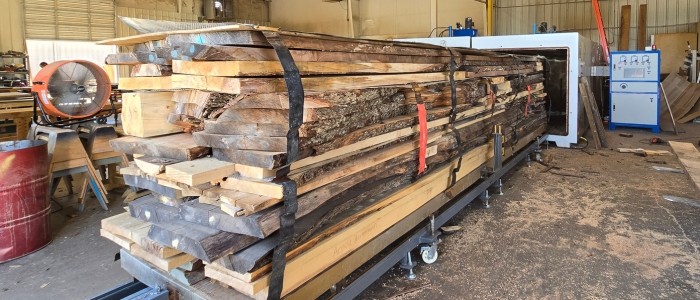
Using high-frequency vacuum drying kilns provides a faster and more controlled drying process for live edge slabs. Here’s why HF wood drying kiln is the superior choice:
- Speed: An HF wood drying kiln can dry slabs in a fraction of the time compared to conventional air drying.
- Consistency: This method provides consistent moisture removal, ensuring that every part of the slab dries at the same rate.
- Reduced Warping: Unlike conventional kilns that can cause warping and cracking, HFVD minimizes these risks by regulating temperature and humidity.
Pro Tip: A high-frequency vacuum wood drying kiln works especially well for thick or dense woods, which are often difficult to dry evenly using other methods.
Final Touches: Sanding and Finishing Your Slabs
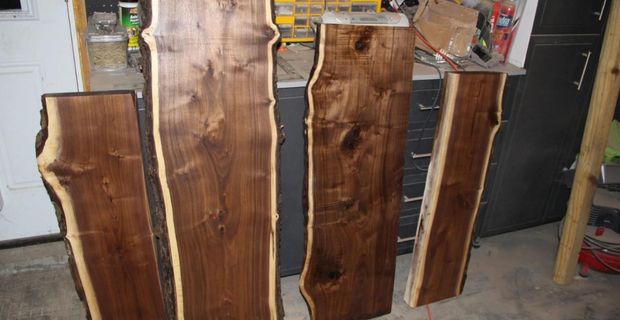
After milling, drying, and flattening, it’s time to refine the surface of your live edge slabs:
- Sanding: Start with coarse-grit sandpaper and gradually work your way to finer grits for a smooth, polished surface.
- Finishing: Apply wood finish or sealant to protect your slabs from moisture, stains, and wear over time.
More Info
Choosing the Right Equipment for Milling Live Edge Slabs
To achieve the best results, investing in quality equipment is key.
- Portable Sawmills: These are versatile tools that can handle large logs and turn them into slabs with ease.
- Chainsaw Mills: Ideal for small logs or cutting in tight spaces. They’re more affordable but require more effort.
How to Prevent Cracking During Drying
- Monitor Moisture Content: Use a moisture meter to ensure the wood dries at an even rate.
- Preventing Stress: Store slabs in a stable environment, and dry them slowly at the beginning to prevent stress cracks.
Conclusion
Milling and flattening live edge slabs requires precision and patience, but with the right equipment and techniques, you can transform logs into stunning, functional pieces. Whether you choose air drying or high-frequency vacuum drying kilns, the right drying method is essential for long-lasting results. If you’re interested in speeding up your drying process, consider investing in HF Vacuum technology for consistent, efficient results.
Contact us today to learn more or get a personalized solution for your needs.

